Projects
A project is a group of resources under one name, together with the environments they run in. Services, databases, key-value stores, buckets and volumes all live inside one.
A project usually represents one application or system. A workspace holds all your projects.
Every project starts with a development environment and can have as many more as you need.
Creating a project
Click New on the projects page and the create palette opens with three ways to start.
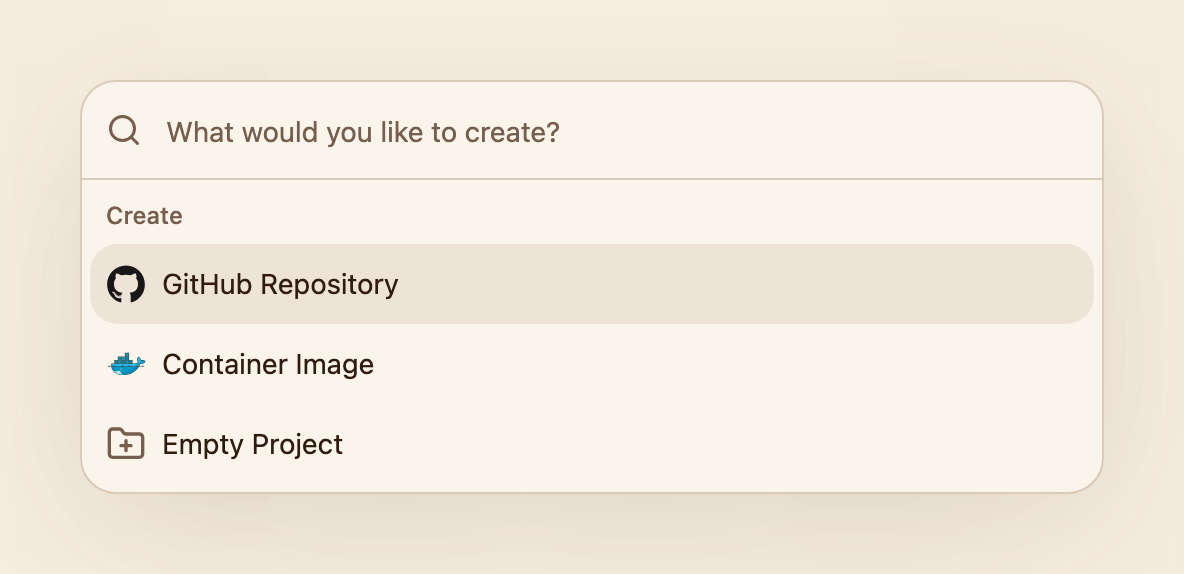
Every project starts here, from source, from an image or from nothing at all.
From a GitHub repository is the usual one. Pick the account and the repository, and Lucity inspects it, works out what it is, and proposes a project and a service to go with it. The first build starts immediately. This is the path the quickstart walks through.
From a container image creates the project around a service built elsewhere, whether that is software you are hosting or an image you publish yourself.
Empty creates the project and its development environment with nothing in them, ready for you to add services and resources yourself.
A project has a display name of up to 128 characters and an identifier of 2 to 16 lowercase letters, digits and hyphens, derived from the name unless you set it yourself. The identifier is what appears in URLs, hostnames and logs. Neither can be changed afterwards.
The canvas
Opening a project drops you on the canvas for the current environment. Every resource in that environment is a node: services, databases, key-value stores, buckets and volumes, each showing its name and current state.
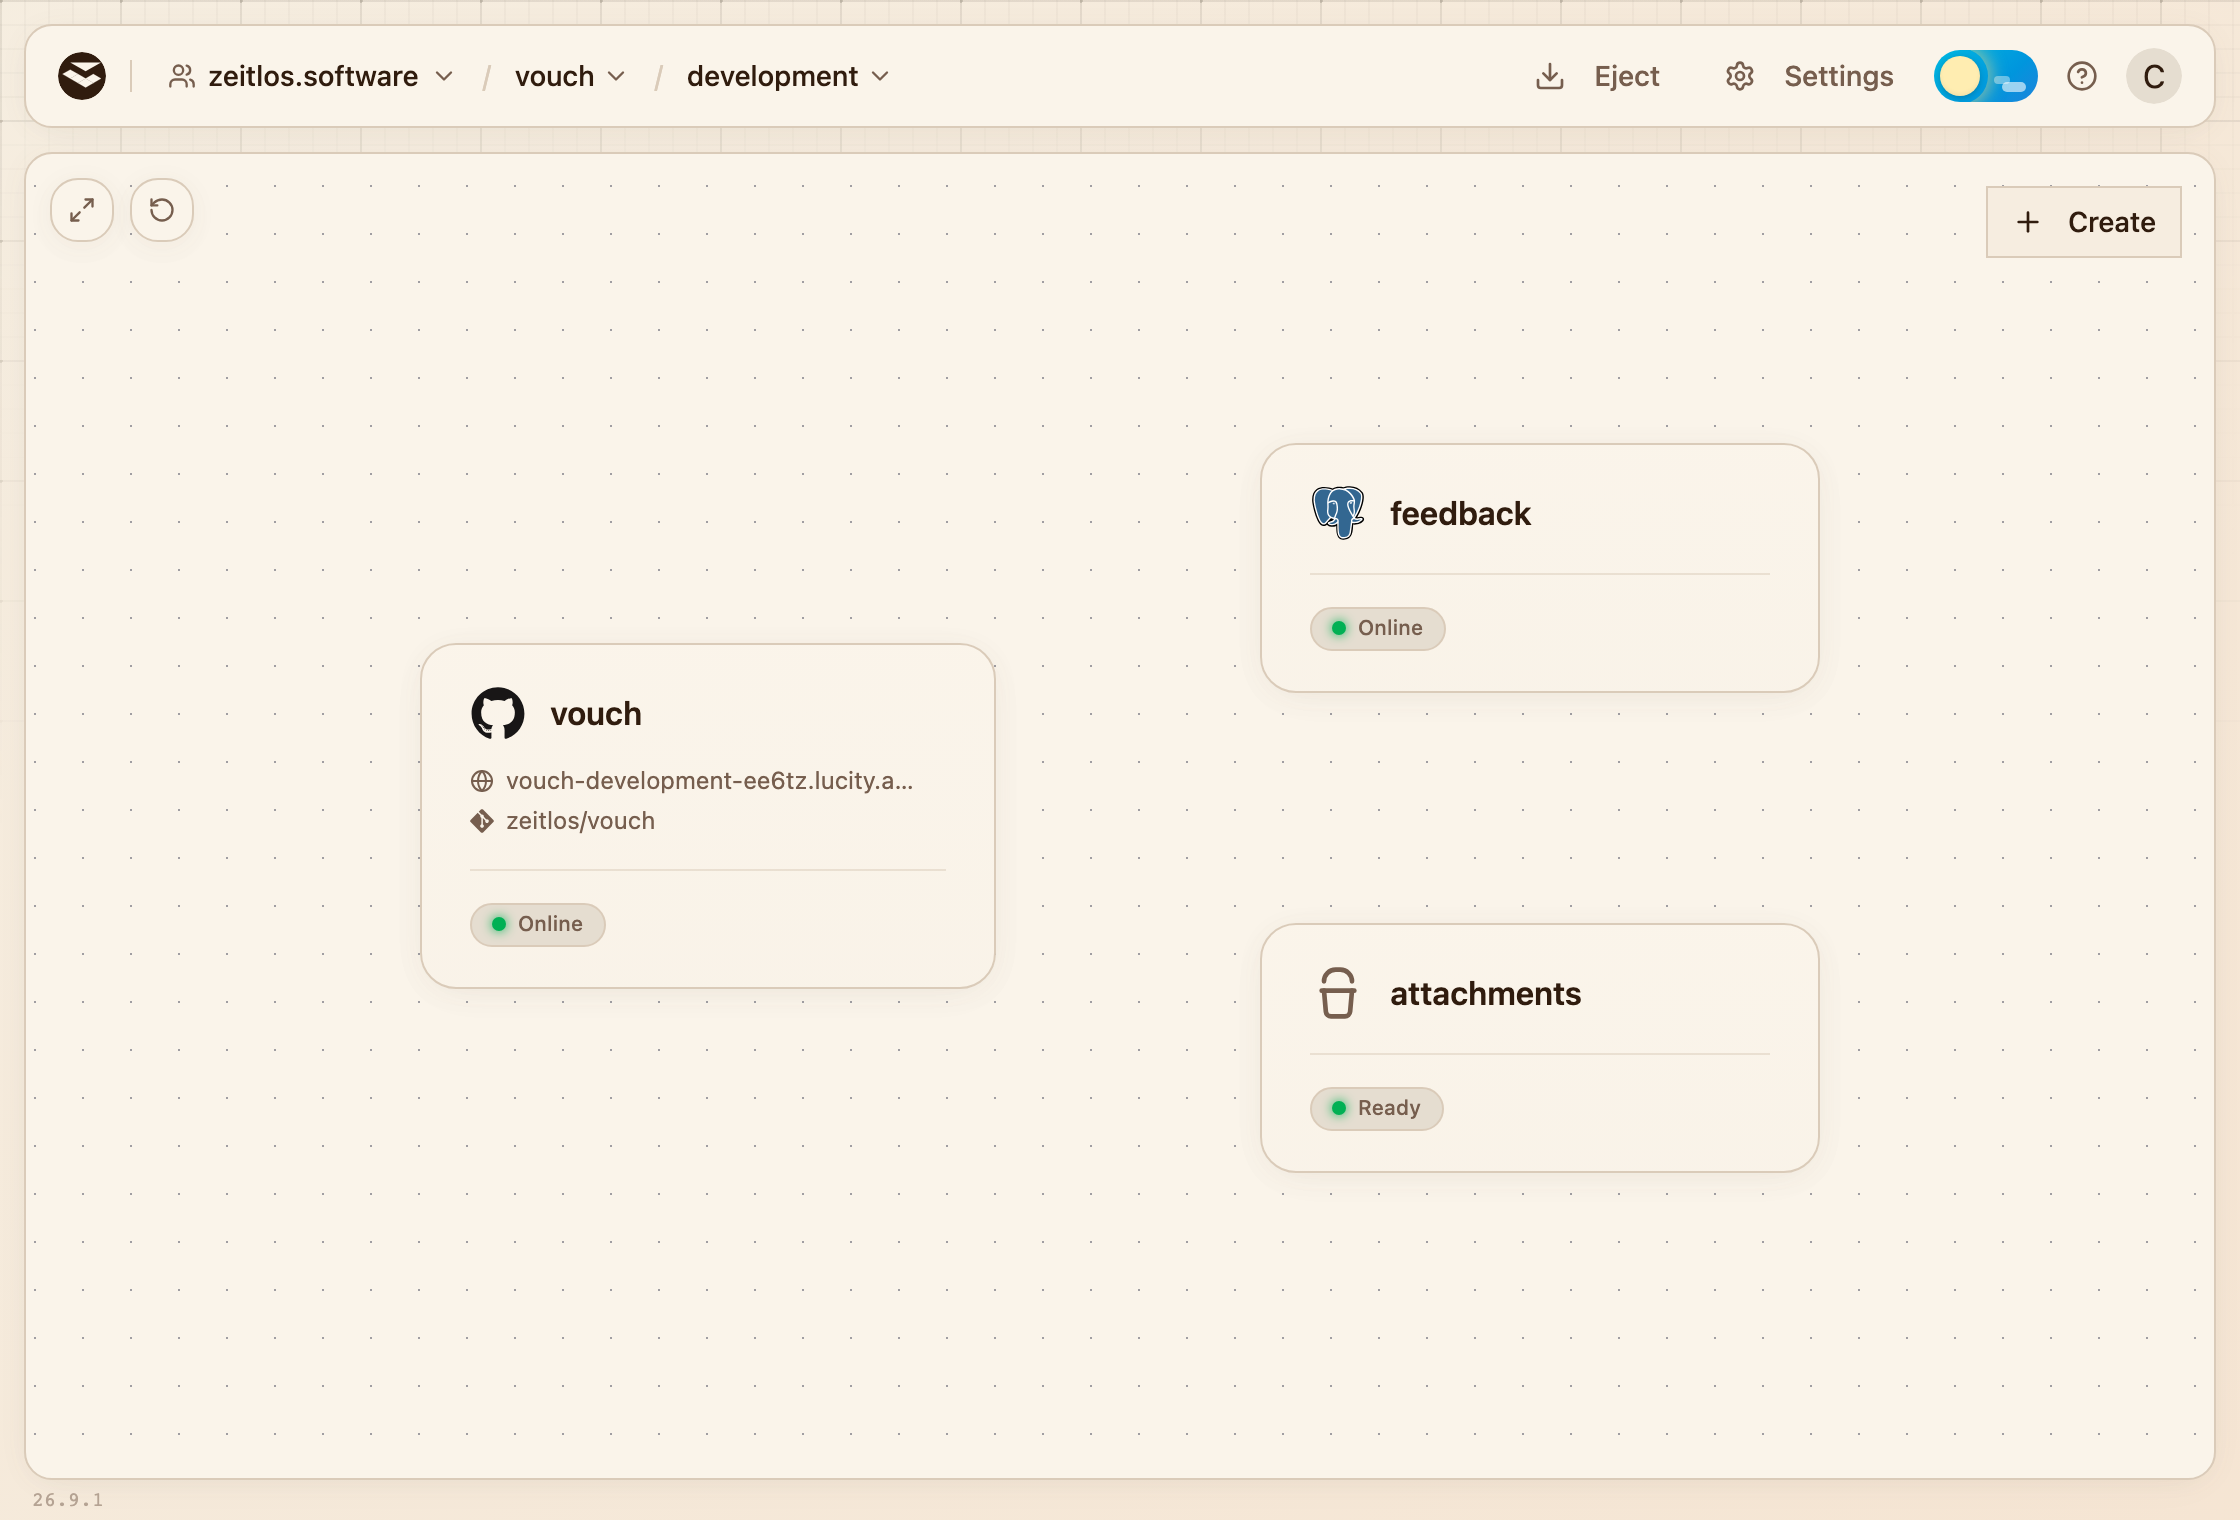
One environment on the canvas. Create sits in the top right, the reset button in the top left.
Clicking a node opens its panel: deployments and logs for a service, tables and backups for a database, files for a bucket. Create in the top right adds a new resource to the environment.
You can drag nodes around to lay the canvas out the way you think about the system. The arrangement is saved in your browser, so your teammates keep their own, and the reset button in the top left puts every node back where it started.
The canvas shows one environment at a time. Switching environment in the header swaps the whole canvas, so production shows its own separate copy of everything.
Settings
A project has its own page, which lists its environments and creates new ones. You get there with the arrow at the bottom of the menu on the left of any environment, or through Settings in the project's menu in the header. Settings on that page covers what applies across the whole project, such as its name and identifier. Anything that belongs to one environment, like its tier or its shared variables, lives in that environment's own Settings and Variables.
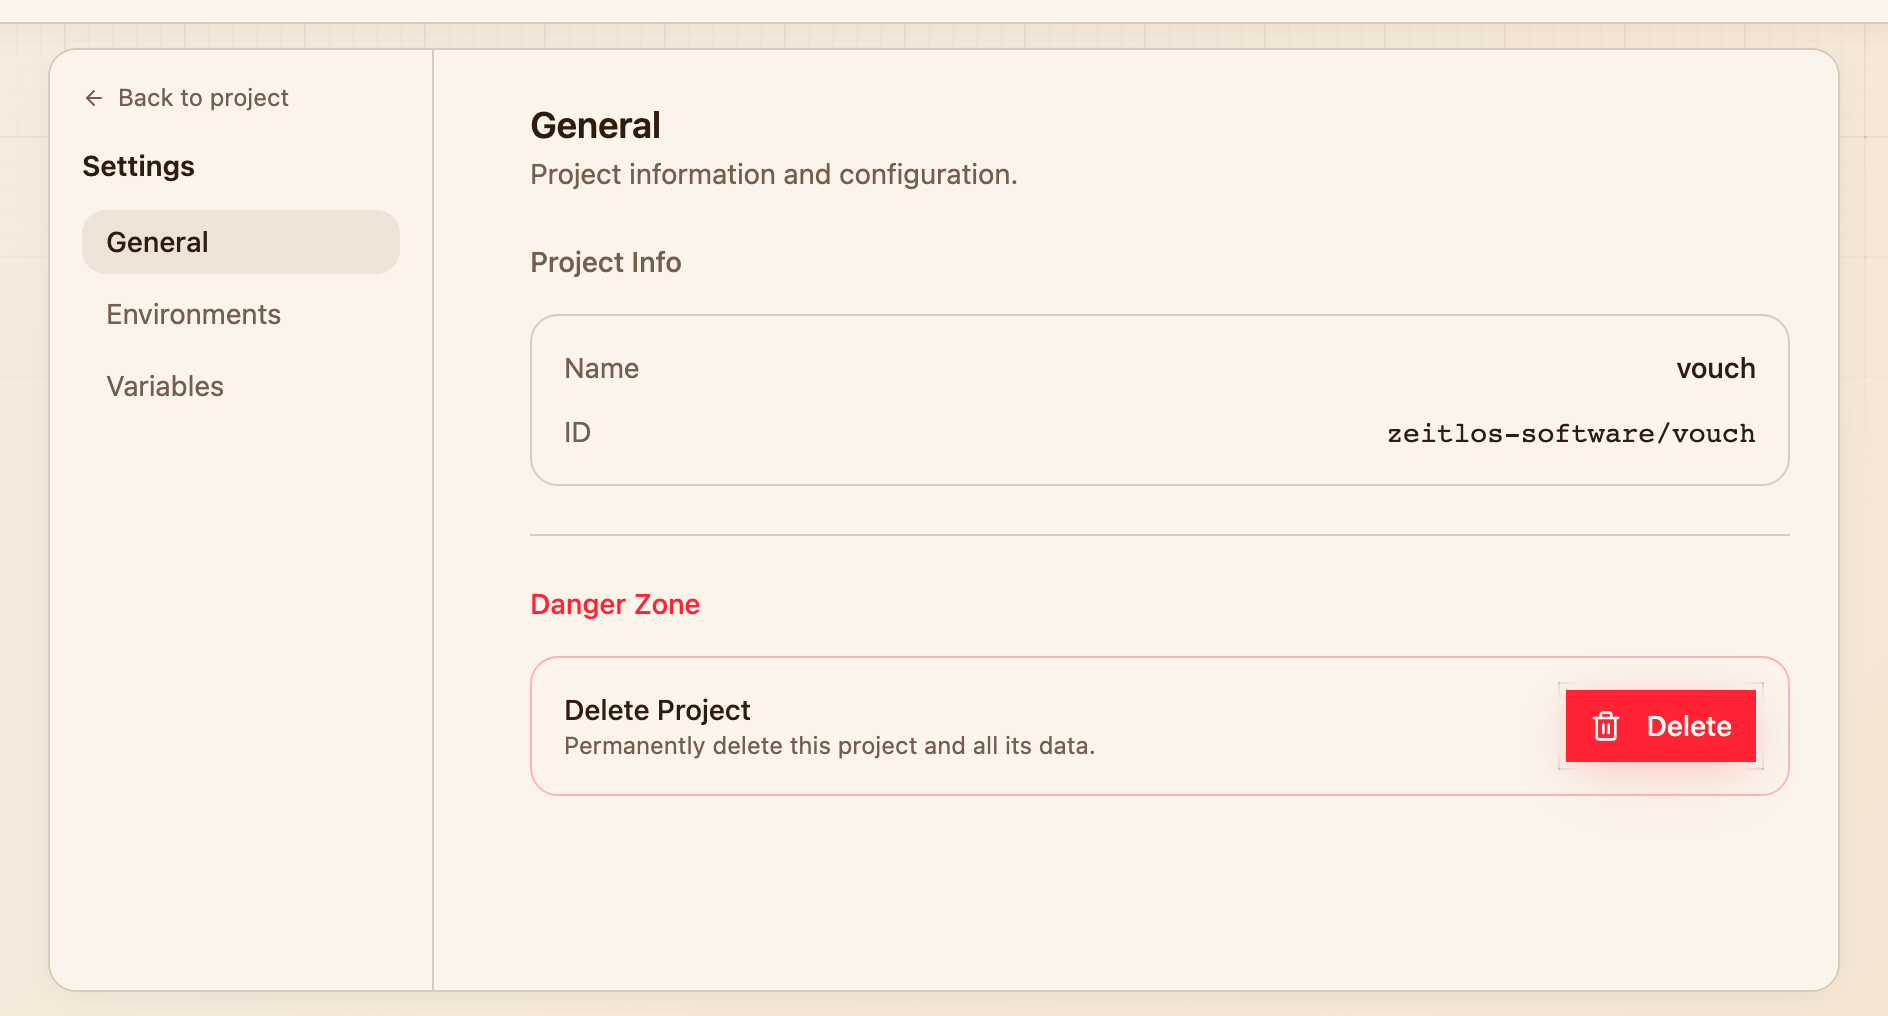
The name and identifier are fixed, and deleting the project sits right below them.
Deleting a project
Deleting is at the bottom of the project's Settings. Projects delete from the inside out: a project can only be removed once all of its environments are empty, so every service, database, key-value store, bucket and volume has to go first. Until then the delete is refused and names what is still in the way.
Once the environments are empty, deleting the project removes them and the project along with it.
Under the hood
A project is a naming and labeling convention rather than a resource of its own. Each of its environments is a Kubernetes namespace carrying the project in its name and in its lucity.dev/* labels, which is why the identifier is fixed at creation and why an ejected project is simply those namespaces and the Helm releases inside them.
Next steps
- Environments for how a project is divided
- Services for what runs inside one